 Today I want to tie up last time’s post about animation before moving on to other things. I’m sure I’ll return to the topic of making movies with POV-Ray and FFmpeg; it’s just too much fun, and I have tons of ideas. (I can finally do a really decent animation for the Special Relativity article I’m planning for Albert’s birthday.)
Firstly, I’ll discuss the animation initialization file, the ANI.INI file, and show you how the multiple segments are managed. Secondly, I’ll talk about the output files — all those frames we generate — and what to do with them.
Plus, I have a couple of important announcements!

A lifetime ago I went to school thinking I might end up with a chair like this some day. It toook me almost 40 years, but I finally sorta, kinda did!
The ANI.INI file that configures the animations is similar in organization to the CAM.INI file (previously discussed here). The first part of the file — the “top” of the file — contains generic defaults and settings that apply to all animations. (You might be wondering what the difference between a default and a setting is. The former I expect to override with an animation-specific value but provide as a fallback value. The latter I expect to typically apply across multiple animations as is but be overridden in special cases.)
For example, historically I use a 4:3 aspect ratio for the “snapshot” renderings, but I render all my video in 16:9 (HD). Therefore, at the top of the ANI.INI file, I set the Width and Height to the desired HD values (1280 x 720). Those settings apply to all animations, and I would only override them on special occasions. I also set Initial_Frame and Final_Frame to provide sensible defaults but expect each animation to have its own values (especially Final_Frame, obviously).
Here’s what the top of the file might look like:
“path-to-projects\project\ini\cam.ini”
Display = On
Verbose = On
Quality = 0
Initial_Frame = 0
Final_Frame = 99
Cyclic_Animation = Off
Antialias = On
Sampling_Method = 1
Antialias_Threshold = 0.3
Antialias_Depth = 3
Width = 1280
Height = 720
After the defaults (and settings and codes, oh my!) come a series of sections, one for each animation segment. Each section provides initialization values particular to the animation segment in question. As with the CAM file, each section first names the ANI file itself in order to bring in those defaults. (From now on, to reduce visual clutter, I’m going to drop the ‘.INI’ part of the file name.)
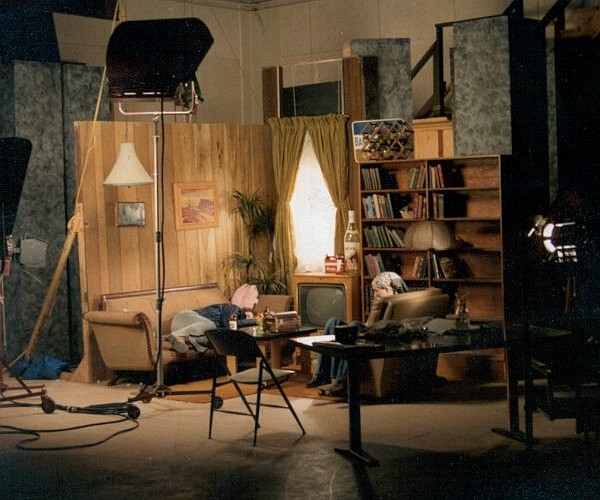
Couldn’t think what kind of images to use in this article, so you get to see photos of my lighting “final” in my college cinematography class.
Also like the CAM file — and very importantly — each section specifies the output for the segment. But, unlike the CAM file, the ANI file specifies a path and a file name prefix. The path leads to the folder that accumulates the output frames. The file name prefix specifies the first part of the image file name; POV-Ray appends a unique number for each file and the image file extension.
I start with a sub-folder (which I call ani) in my project folder. The ani folder is the base of operations for animations of that project. You’ll recall I keep the camera INI files in a project sub-folder (which I call ini). This is a similar deal; it helps keep the project folder uncluttered.
In the ani folder I create sub-(sub-)folders, each just named by number: 1, 2, 3, etc. These folders are the segment output folders. I always use img_ as the prefix for the output files. The first few lines of an animation section might look like the below (the output specification is the third line):
“path-to-projects\project\ini\ani.ini”
Output_File_Name=”path-to-projects\project\ani\1\img_“
This says that, for animation segment 1, the output files go in sub-folder ani\1 and will be named using a img_####.png pattern. POV-Ray picks the number of digits in the number (the #### part) depending on the number of frames. If I render 1000 frames, the output files are named img_000.png through img_999.png. (The .png assuming you’re using PNG as the output mode.)
As with the Camera Protocol, you create small INI files used to kick off any animation segment (or queue them for batch rendering). One might look like this:
“path-to-projects\project\ini\ani[ani-1].ini“
Just to make sure things are straight: all the INI files go in the ini sub-folder, even the ones related to animation. The ani sub-folder is the base for the animation output folders. (I also use it for staging the FFmpeg activity, as you’ll see next.) And if you’re wondering, all snapshot images from camera position renderings go in the out sub-folder.
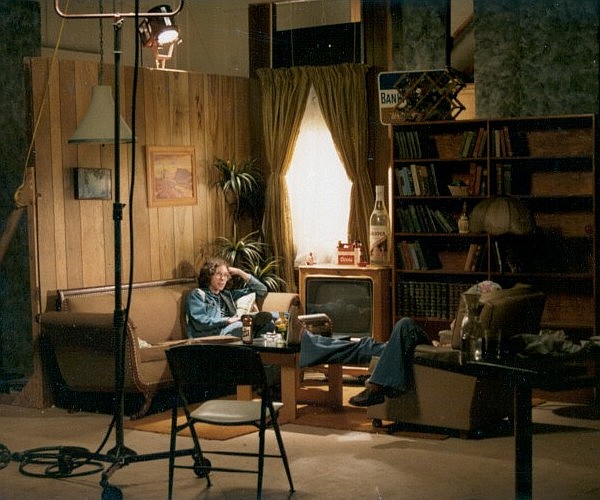
You’d think my friends would be more into helping me rather than sitting around chatting.
Okay, so now you have a whole bunch of frames, now what? What can we do with these frames?
On a trivial level, if you have a nice image viewer (such as the freeware Irfanview), you can manually browse through the frames, or arrange a little slideshow. That at least gives you a quick personal glimpse at the animation. But it’s hard to share a fairly full folder of files with far-off friends!
An old-ish, fairly simple way of sharing “video” (moving images, anyway) uses the animation capability of GIF (Graphics Interchange Format) files. Animated GIF files go back to the first days of the interweb long before actual video joined the scene. There’s a certain bitter history regarding GIFs, but it is all history now (as of ’04), and people still use them to share short bits of actual video.
The real problem with GIFs is that, unless the images are really simple, or the animation is really short, the GIF file size is gonna be huge. That said, they have their uses. I showed you two last time (maybe one of these days I’ll post a link to a collection of the ones I’ve made over the years; some aren’t too shabby).

Mi Amiga, “JM”, was understandably a bit miffed when these photos were shown in class (as required)…
I use an out-of-print software (Animation Studio by Jasc) to create animated GIFs. I’m sure the interweb has many freeware utilities capable of it. I think Irfanview can stitch a bunch of images into an animated GIF, but I’ve never looked into it. [Update: I took a closer look, and it appears it can’t make them, but it can extract frames from one.] (Irfanview really is awesome; probably deserves its own blog post someday. Note to self! Still a good idea!)
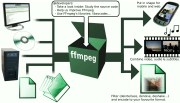
What I always wanted was to make MPEGs (“em-peg” just like a JPG or JPEG file is a “jay-peg” and I’ll let you look up what the letters stand for). Turns out there’s a great piece of freeware, called FFmpeg (“eff-eff-em-peg“), that does a bang-up job!
The “problem” is that FFmpeg is decidedly geeky. It’s strictly a command-line utility, and I’m guessing some of you don’t even know what “command-line” even really means.
[There’s a funny irony (at least I think it’s funny). In this point-n-click (and now, swipe) world, when you see hackers and other computer whizzes on the TV machine, they’re always typing madly on the keyboard. They never seem to use a mouse. No doubt the whole menu select, sub-menu select, click, select options, tab around, type a little, click a little, then click [Okay] just doesn’t play dramatically enough. And the reality is that typing actually can be much more powerful.]
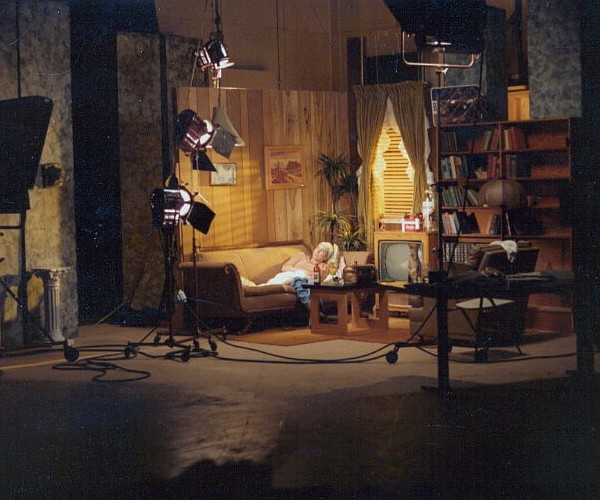
…but she was in the class, knew what the plan was. I did try several times to wake her or get her to move.
I have only just begun to explore what FFmpeg can do. At first, I tried making standard MPEG files that Windows could play. The simple settings I tried resulted in very poor-quality video, and research made it seem very complicated to get high quality.
About then I discovered that YouTube required the MP4 format that Apple uses for QuickTime. I don’t much care for the free Apple QuickTime viewer for Windows — it’s one of the doggiest apps I use. (I always wonder if Apple is making some sort of point towards Windows users. The Windows iTunes app is unpleasant to me, too.)
However! MP4 (QuickTime) plays fine in a browser, and the FFmpeg install comes with a very quick, simple viewer, so I can ignore the Apple QuickTime lump. Given that it’s the format YouTube wants, it’s clearly the way to go. The bonus is that simple settings seem to generate very decent video files. Here’s an example of those settings, broken down in parts:
-i “path-to-projects\project\ani\Q\6\img_%04d.png”
-vf “scale=854×480”
-vcodec libx264 -r 30000/1001 -pix_fmt yuv420p -crf 25
-y “path-to-projects\project\ani\Q\6.mp4“
The first line specifies that the input comes from the image2 “demuxer” which is designed to (ta da) read a bunch of image files and present them as a stream of frames. We’ve specified a frame rate of 30 frames. (Technically, 29.97.)
It really is pretty amazing what FFmpeg can do, but you need to really understand video formats and technologies to make full use of it.
The second line specifies where those frames are. The “%04” bit tells image2 that the file names have four digits. It automatically sequences all it finds so long as the numbers are contiguous. As you can see, those are the same files we generated in POV-Ray (I’m curious to see if sharp-eyed readers notice anything here).
The third line specifies a “filter.” FFmpeg has many filters with a variety of capabilities. They can provide fade-in, fade-out and cross-fade capabilities (with both video and audio). They can overlay video and titles, and they can (as in this case) re-size the video.
The fourth line names the video coder/decoder (“codec”) we’ll use to generate the MP4 output. We’re using the codec in the libx264 package. We also set the frame rate and pixel format. The last setting (-crf) controls the image quality.
It suddenly occurs to me that, if I am making MP4 QuickTime movies, I should be able to put them on my iPod! New Goal!!
The final line names the output file and says we should go ahead and overwrite it if it already exists. FFmpeg determines the output format from the file extension of that file (MP4, in our case).
I put it all in Windows .BAT files that I keep in the ani sub-folder. There’s considerable information out there about using FFmpeg, so I won’t go into further detail here. It’s a geeky enough package that, if you’re qualified to use it, you’re also well-qualified to find that info on your own.
And on that note, my discussion of POV-Ray camera and animation is complete.
For now!
Announcements
I ponied up for the WordPress upgrade that does away with the ads. I’ve been meaning to do it for a while; I really hate ads! The upgrade comes with more upload space (which is nice, but just took me from about 5% usage to 1%) and the ability to tweak the blog’s CSS, which will be interesting.
You may not realize this, but I force the text color of most paragraphs to black to provide the best contrast to the white background. (The default gray text color, which you’re seeing here, seems like a poor design choice to me if readability was a big goal.) It would be nice to not have to set the color manually for Every. Single. Paragraph. (All those <span> wrappers create some of their own issues, as well.)
 The upgrade also mentions it comes with the ability to upload “high-definition video” directly to your blog. If I’m right, that means the next announcement is somewhat moot, because I may be able to serve MP4 movie files directly from the blog now. (Both that and the CSS are future projects!)
Anyway, if you remember when I first started talking about animated POV-Ray movies, I found I needed a YouTube account to serve the MP4s I was making. That seemed like a big project. Creating the account wouldn’t be a deal, but making MP4s that worked right per YouTube standards? I was concerned that was going to be the pain point. I’d already read some docs with a lot of tweaky settings.
 Turned out that, as a gmail user, I’m a Google user, which means I already had a YouTube account. And as for the MP4s? Do you think it was as simple as just dragging and dropping one and Bob’s your Uncle?
Yep. T’was.
Here’s a little slideshow tour of “The Studio” project:
See you in the movies!


And what do you think?